Streamlining Local Development with DDEV, Docker, and NGROK


Drupal
Drupal is a highly customizable Content Management System (CMS) from a developer's perspective. You can either use a plethora of contributed modules with the Drupal installation to get what you want or create custom modules easily to add new features, tweak it at every level, and add more flexibility to development.
I use a mix of both, using the contributed modules as a base and building upon them (yes, it is highly possible, especially with modules such as Webforms). The only caveat is that the documentation is scattered across Drupal community issue queues, Class examples, and StackExchange, among others. I normally use the test cases and Interface classes to get an idea of which functions can be used and their purposes, such as the WebformSubmissionInterface of the Drupal webform module.
So, how do I get started?
Getting started on a Drupal project can be tricky. To begin, you need a development environment, like all PHP applications. This means you need to create a database to store the data and a web server to run the application at a minimum. There are several options to begin with, such as:
- LAMP (or WAMP)
- Dedicated Machine with Apache
- A remote Virtual Machine
- A Shared Server
- Docker Containers
Setting up an Apache web server requires basic web server skills, such as installing Apache2 on the machine, setting up virtual hosts, adding a host entry, and configuring the php.ini to match the server requirements, among others. A tool like XMPP makes it much easier but will only work within the local system, making it harder to switch PHP versions.
My Experience
I am used to setting up web servers on remote virtual machines or an in-premise bare metal PC to get a development website that I can access without localhost. To do this, I had to:
- Install PHP
- Install Apache2
- Install MySQL Server and Client
- Configure Apache2 with Virtual Host files and related configurations
- Configure PHP.ini to meet the server requirements
- Create a new user with access to the www-data group (the Apache2 group) and use ACL (Access Control List) to allow the new user to have write permissions on the docroot
- Manage File Permissions using ACL.
- Create a Database on MySQL using the CREATE command and create a new MySQL user with access to the database.
For GUI, I would use Adminer, a single PHP file, but I prefer the CLI.
These processes alone took around a day to complete. In a shared server, you would also have to deal with the limitations put forth in WHMCS and work with what you have available. I don't want to host Drupal sites on a shared server, as it has too much dependency on CLI, which shared servers seldom provide. I used Pantheon and 000WebHost, but while Pantheon acknowledges the composer.lock, 000WebHost needs you to access the terminal via CPanel to run the composer install. However, both options still need one to have a local development environment.
Docker Containers
Then came Docker Containers. There is an official image for Drupal in the Docker Hub, but it was too difficult to make persistent storage with this image. Since Drupal recommends composer-based installations, this Docker image was obsolete. Hence, I created a new docker-compose.yml with a custom Dockerfile that still needs an Apache2 configuration file to easily set up Docker Containers that work with a composer project. Still, this worked in Apple systems but didn't work in Linux due to how the passwords were escaped in the docker-compose.yaml.
Conclusion
It took several long hours to set up the environment before even starting on a Drupal project, which is one of the biggest bottlenecks with Drupal installation. I am facing this now partly because there never was a need for me to set up a local development environment on my local machine or in Docker Containers, as my entire professional journey was within an office environment where I worked directly with Cloud-based Virtual Machines and internal Proxmox nodes. When stepping out into the open world, I looked forward to finding something to streamline my local development experience. That journey ended when I stumbled upon an article on TheDropTimes, which made me pursue the installation of the Droopler starter kit for Drupal, which had various options outlined, namely:
- Custom development environment
- DDEV
- Lando
I did some research and chose DDEV over Lando.
DDEV
DDEV is an open-source tool for launching local web development environments in minutes. It supports PHP, Node.js, and Python (experimental). It can be installed using Homebrew (available on Linux and Mac), and after some trial and error, I was able to install the Droopler distribution, which will also install Drupal 10 with the Paragraph module, among others. The installation was a breeze, using Docker Containers. Running ddev config collects the necessary configurations, and ddev start will set up the containers automatically and put up the site to use in a locally available <sitename>.ddev.site domain. I was baffled by the simplicity using DDEV over other methods. Somehow magically, all pieces fell into their right places, and I got a running Drupal 10 site in under 5 minutes. I also added phpMyAdmin using ddev get ddev-phpmyadmin, which enabled me to have a GUI on my databases.

Docker Desktop
Being on a Mac, I used Docker Desktop. This would give me an overview of my containers without having to check for the Docker containers using CLI. DDEV created 5 containers, including a Traefik router and ssh-agent (so I can access the web container by running ddev ssh), as shown below:

Next Steps?
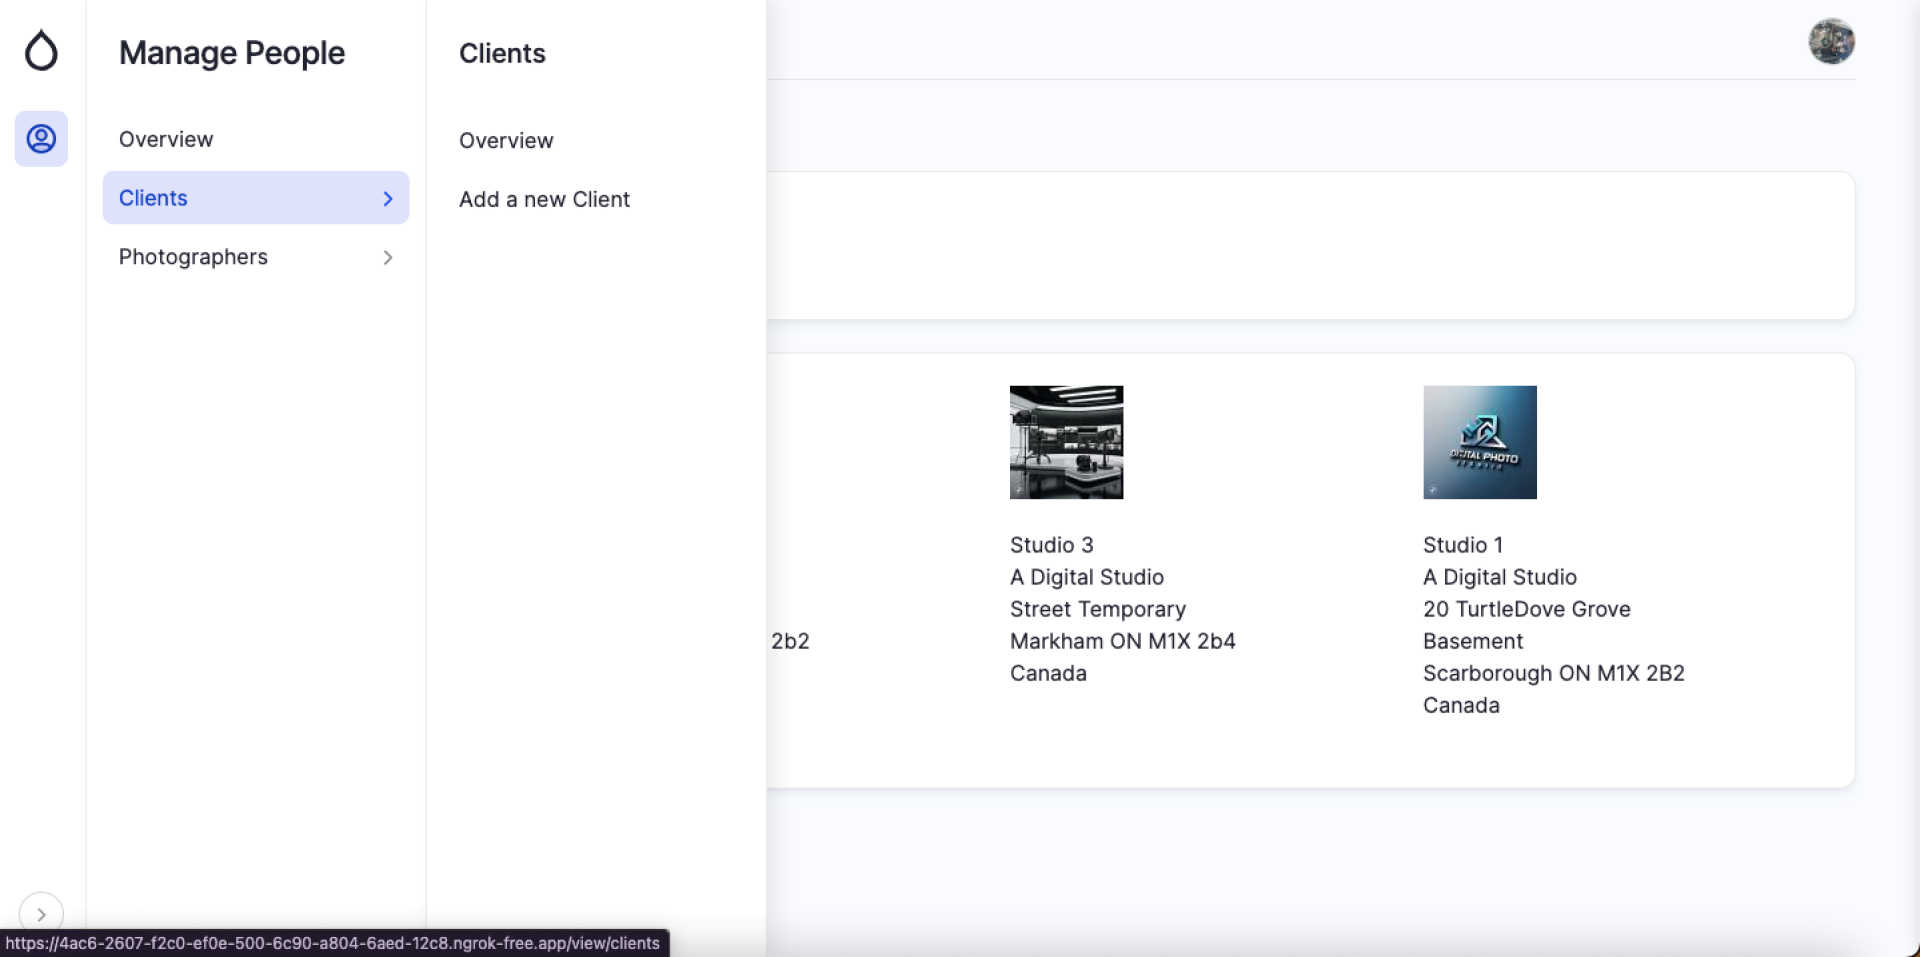
Now that a full web application is running on my machine, I started working on it, installing a new theme, GIN, since I am building a backend application and not a website. Ironically, it has a better UI that is out-of-box and aligns well with what I had in mind. See below:
With a functional prototype ready, I needed to get comments on the application from a friend. I always love to get feedback from someone else to get another perspective on the application. Whilst in the office, I could just send them instructions to add the host entry on the local machine and ask them to access the URL with the credentials provided. For someone outside my office, I usually used SkipDNS, but they changed from being free to paid, and the free URL expires in 5 minutes. However, I needed to send this to someone in a different location and cannot give them a 5-minute URL. This was the time when my friend suggested using TailScale or NGROK. So, like always, I planned to give it a try.
TailScale
TailScale is a tool that exposes your ports to a private subnet within TailNet. It does something DDNS does, but with minimal setup times and more flexibility. Essentially, you can create an account on TailScale for free and install Tailscale on multiple devices (for instance, the Raspberry Pi and your personal machine). This will allow you to access your Raspberry Pi anywhere in the world from your personal machine connected to the same TailNet network. You can add others to your network, so they also get to access the ports from their machine. They even had a Docker Desktop Extension that allows me to access the Docker Container's public ports using the TailNet address, and so does anyone on my network. However, for some reason, the Traefik router ports were inaccessible from TailNet, so I had to directly call the web server's HTTP port (HTTPS meant I needed to add the domain to HTTPS registry). While TailScale works flawlessly, it doesn't align well with my requirements.
Ngrok
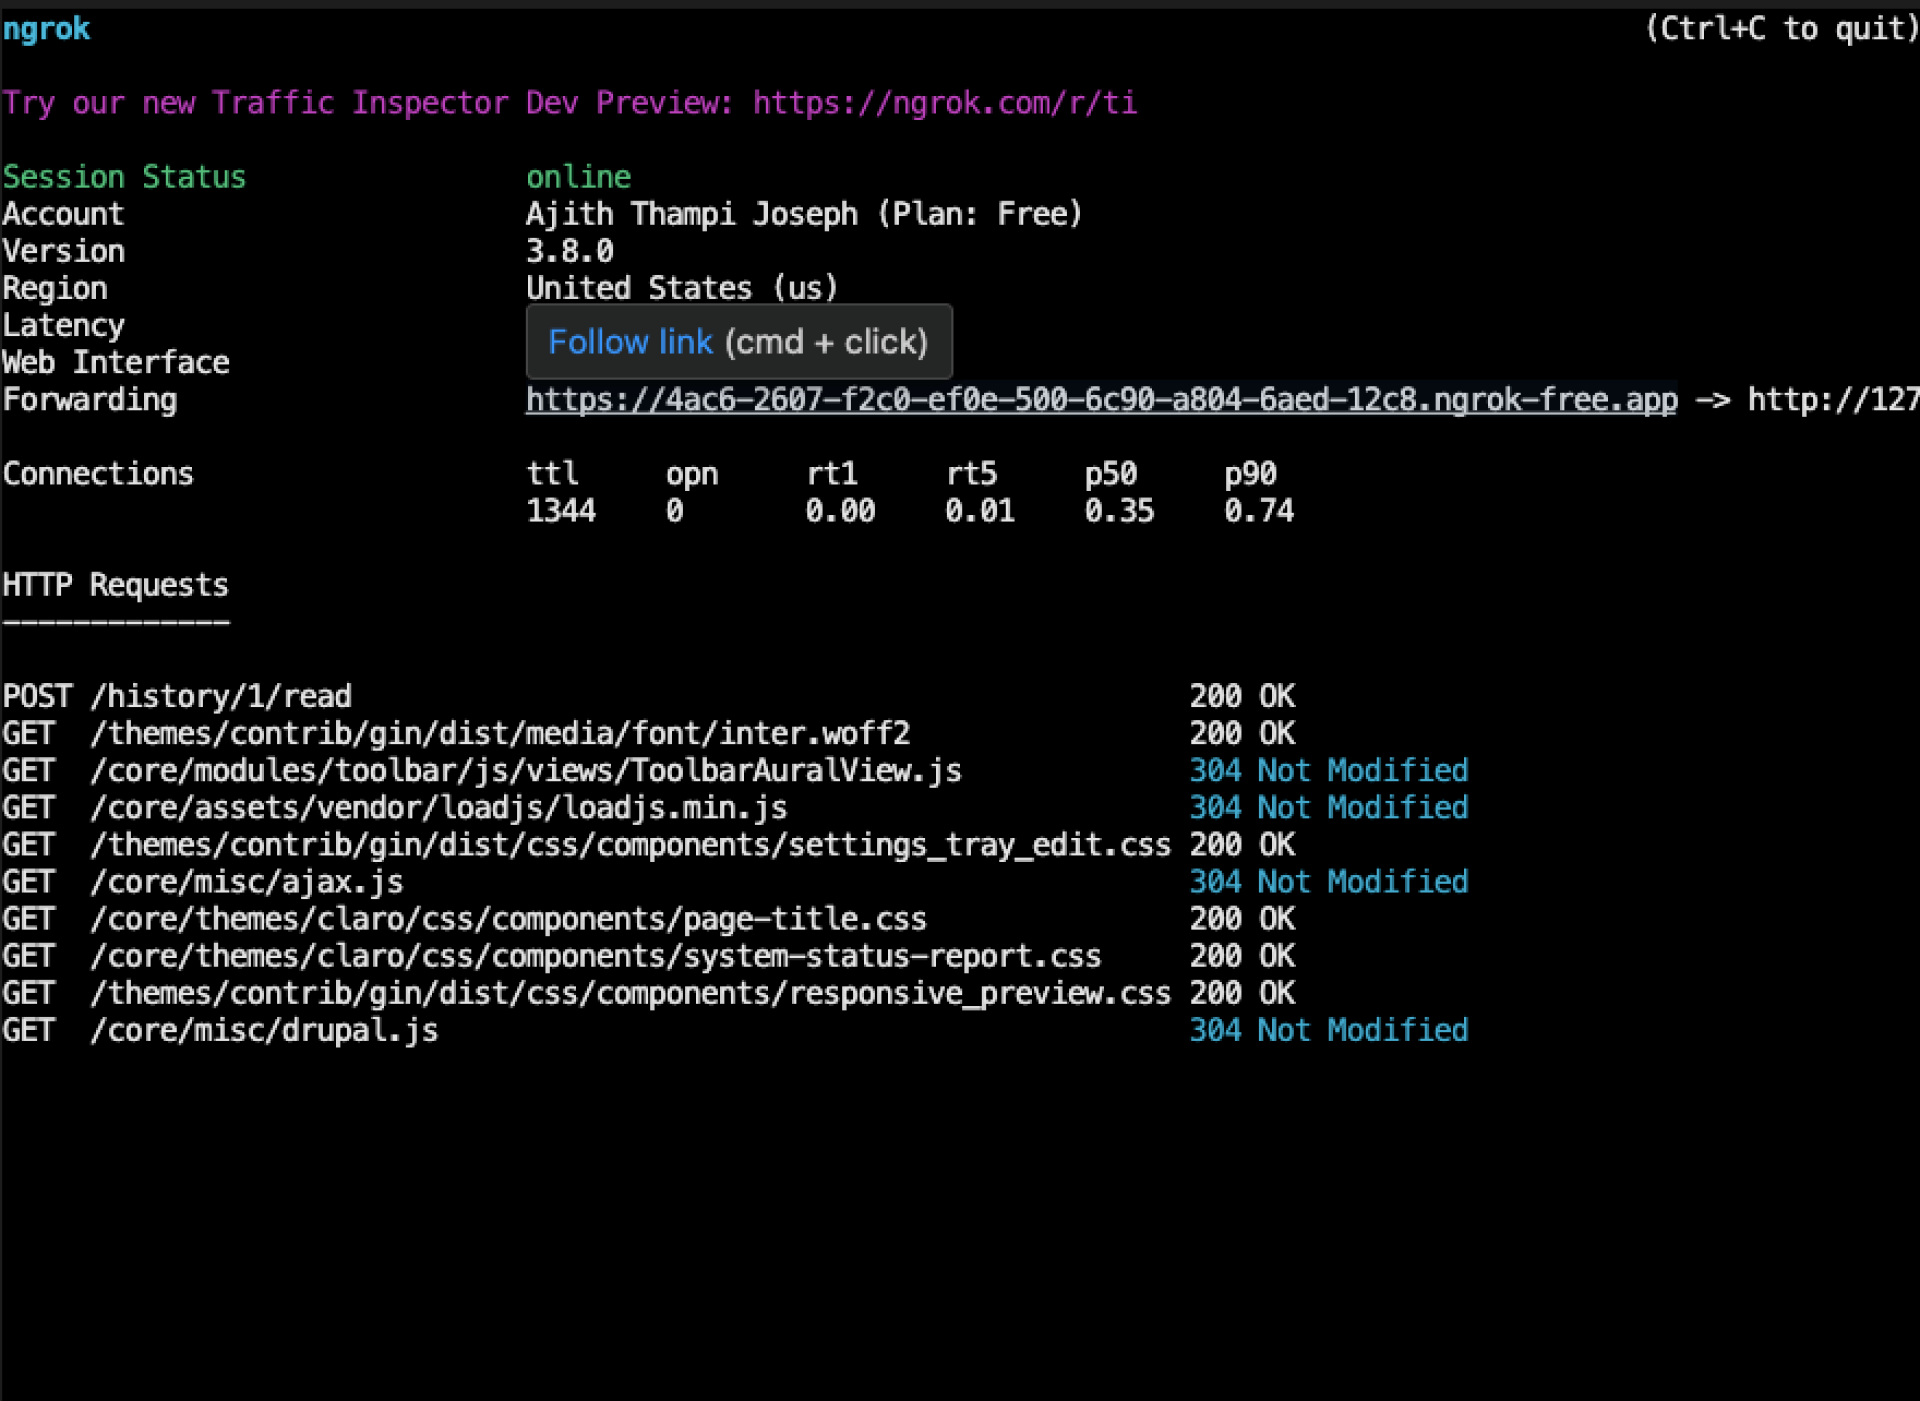
Ngrok is a globally distributed reverse proxy that secures, protects, and accelerates your applications and network services, no matter where you run them. DDEV has a provision for sharing your project using Ngrok. It requires additional steps for WordPress and Magento, but for Drupal, it is straightforward. You can install Ngrok using Homebrew, and just run the command ddev share on the terminal. This would initiate an Ngrok session and provide a web interface to access the project. You can just share them with anyone who can access the app like a normal web app. Now, I don't have to host the app on any cloud servers for someone to access it but use this.
Summary
It is a beauty to watch tools that seem to fit perfectly in place to give a seamless developer experience. The tools DDEV, Docker, and Ngrok fit perfectly to host a full-fledged Drupal CMS with little to no effort. Developers can focus on writing code while DDEV does the rest. It is a beautiful sight to watch an entire infrastructure stem out from a couple of commands.


Note: The vision of this web portal is to help promote news and stories around the Drupal community and promote and celebrate the people and organizations in the community. We strive to create and distribute our content based on these content policy. If you see any omission/variation on this please let us know in the comments below and we will try to address the issue as best we can.
Related People


Comments
You may also like